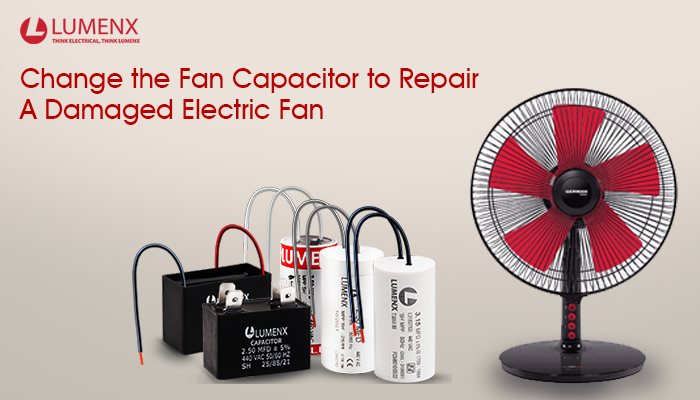
A damaged Electric Fan can be repaired by changing its capacitor, which is known as ‘Fan Capacitor’. But, before you change its capacitors, you need to know a few things about the Fan Capacitor.
- Capacitors with capacities ranging from 1.5 F to 4 F are often used for electric fans
- When replacing a 2F capacitor, you may use a capacitor with a capacity of 2.5 F. Use a capacitor with a smaller capacity than the original but isn’t too different from it.
- If you replace your fan capacitor with a larger capacity, the propellers will spin too rapidly, which can cause overheating and burning.
- Buy an electric fan which is equipped with thermostat, a component that is responsible for removing excess heat from the engine. It functions as a safety feature that prevents the motor from overheating.
- It is important to clean your electric fan regularly. Do not spray water on the motor. Instead, use a dry cloth to clean all the small particles of dust settled inside the motor. Cleaning increases the durability of your fan.
Now, we shall talk about how to replacing the Fan Capacitor, step by step:
- By releasing the safety locks on each side, open the main fan cover.
- With the help of a screwdriver or wrench that will fit, remove the motor.
- Please double-check that the wireline is located where it should be.
- Remove the capacitor from its mounting bracket.
- Inside the motor block, use electrical tape to wrap the wire’s end tip as a short-circuit safety measure.
- Replace the motor and tighten it with a screwdriver or other wrench.
- Run a test to determine if the blades are spinning freely after installing the new capacitor. If everything works properly, you’ve successfully repaired your electric fan.
- Remember to replace the main fan cover and secure the sides.
By now, you should have a better understanding of the Fan capacitor in an electric fan and how to repair it if your fan suddenly stops operating. You don’t need to call a professional technician, nor need you to suffer from the heat.


